How to Package Files
Edison Press accepts print files from several document layout programs. For best results, please supply high-resolution PDF, EPS, TIFF, DOC or PUB files for any of your online printing collateral. The most foolproof file format to send us is a high-resolution PDF with bleeds. If there is any chance that Printems.com will need to make revisions for you, you should send us your native print files, which will consist of the print file packaged together with all the fonts and images used. Your design software probably has a function that allows you to put this package together.
If you are using InDesign on a Mac, you can follow these instructions for packaging your job:
- Open Your Document in InDesign
- Fix any missing Images
Select the Links pallet under Window. If any images show , they are missing a link to the hi-res image
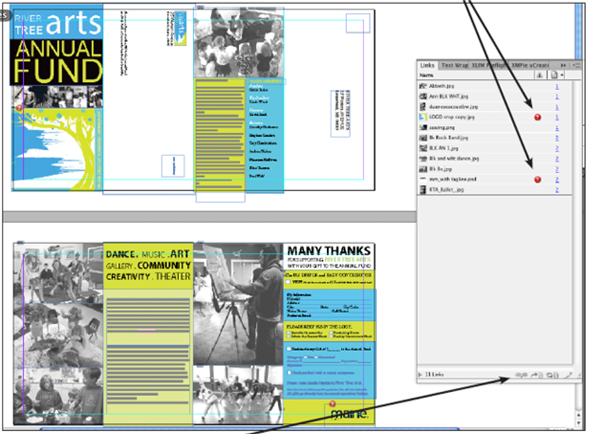
Select the Link button and navigate to the hi-res image on your computer to fix the link.
- Fix any missing Fonts
From the Type menu, select Find Font.
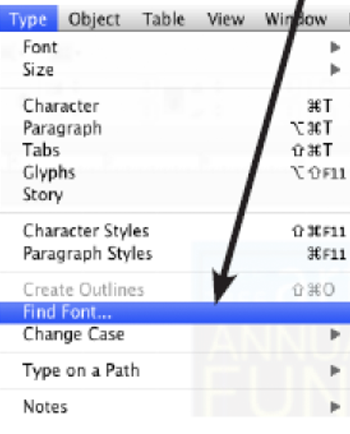
If any fonts have a : this means that this font is not loaded in your system.
You can either load the needed font(s) or substitute with fonts already in your system. To do this highlight the missing font and use “Replace with” at the bottom of the dialog box; to replace them all, select Change All.
- Package the files.
This will pull all your hi-res images, fonts and a copy of the final document into a folder that you can compress and upload to our website.
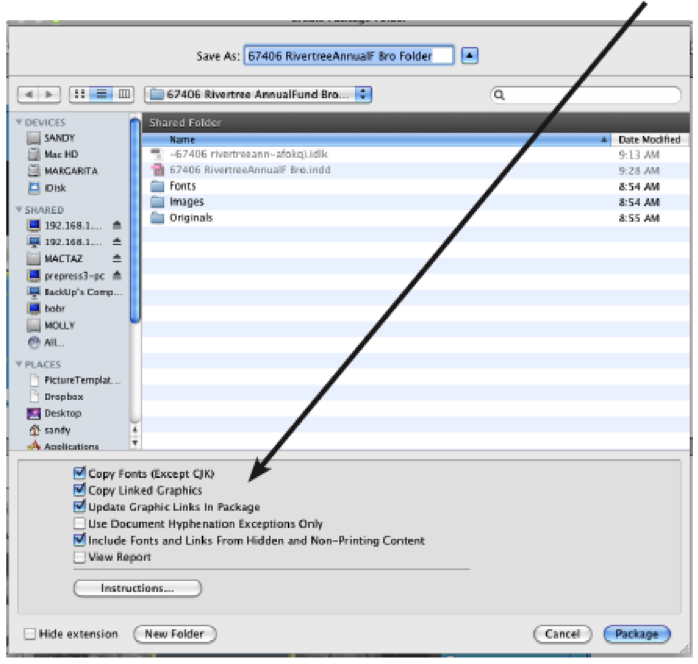
Under File, select Package.

Select Package from the dialog.
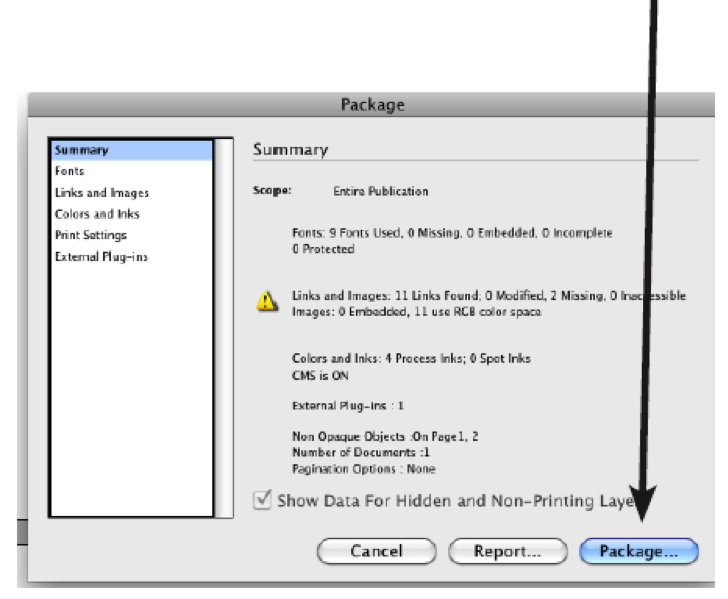
Press Continue through the instructions.
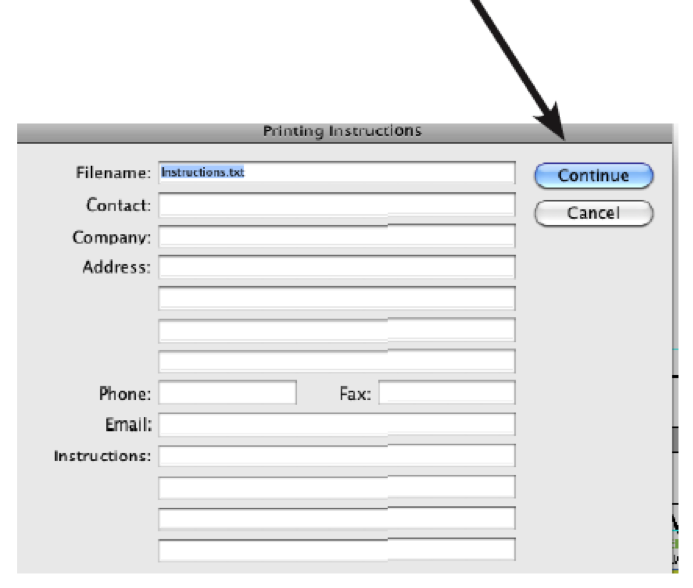
Select a place on your computer to save the packaged folder. Make sure the Copy Fonts and Linked Image boxes are checked at the bottom of the box before you press package.
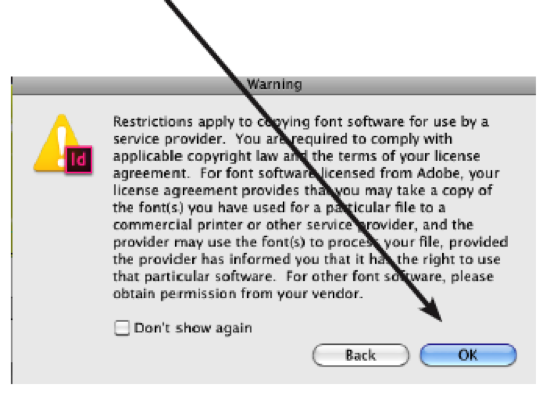
Click OK through Font Warning.
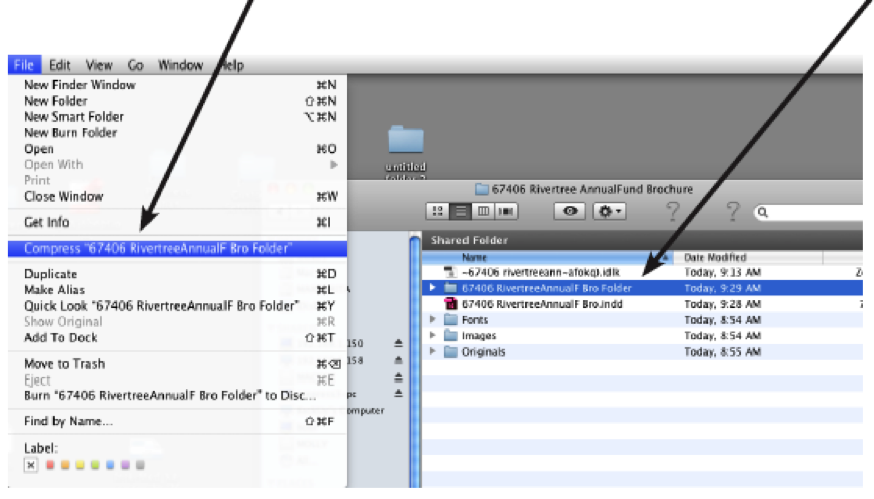
- Compress Packaged Files
Find the newly created Packaged Folder on your computer. Highlight the file folder. Under file select Compress.
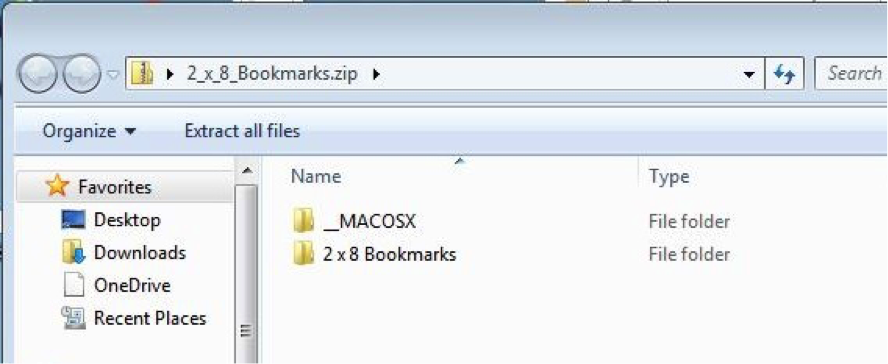
- Upload the Compressed Packaged Files UPLOAD
If you want to learn more about preparing your InDesign files for printing, Adobe has a very thorough preflight tutorial here: GET MORE INFO
Templates
Edison Press has developed free templates to make file set up easier. These templates include layout, bleed, safety zone, border requirements and any folding guidelines which help ensure that your files are set up correctly for trouble free printing. Simply download a template, design your piece, and upload your print-ready artwork with your order.
When you download one of our template packages, you will get all the templates for that product, formatted for Windows or Mac
Open the file for your computer. Inside there will be several different versions of that template. Click through the folder choices (landscape or portrait, single or double sided, etc) until you find the layout that is perfect for your job. When you open that folder, you will see templates in a few different file formats: EPS, JPG, INDD, and PDF.
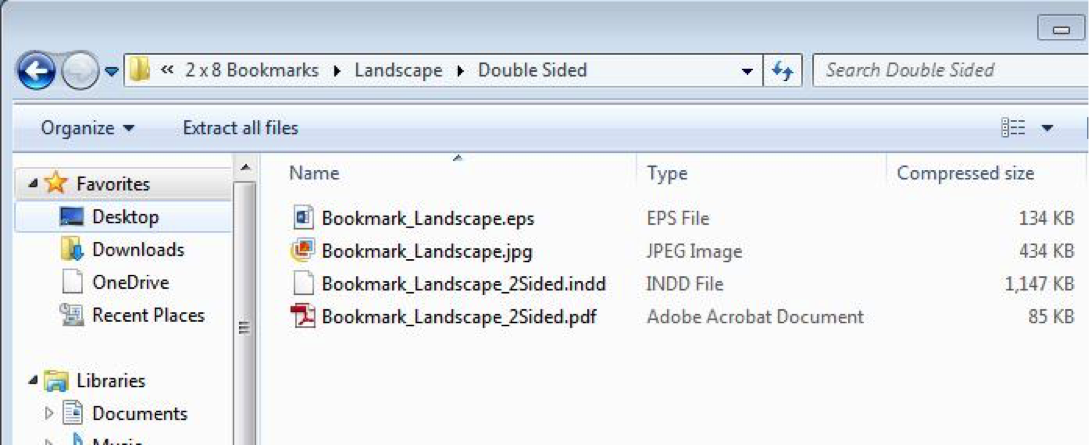
Pick the template that works best with your design software. When you open it using your design software, you will see this:
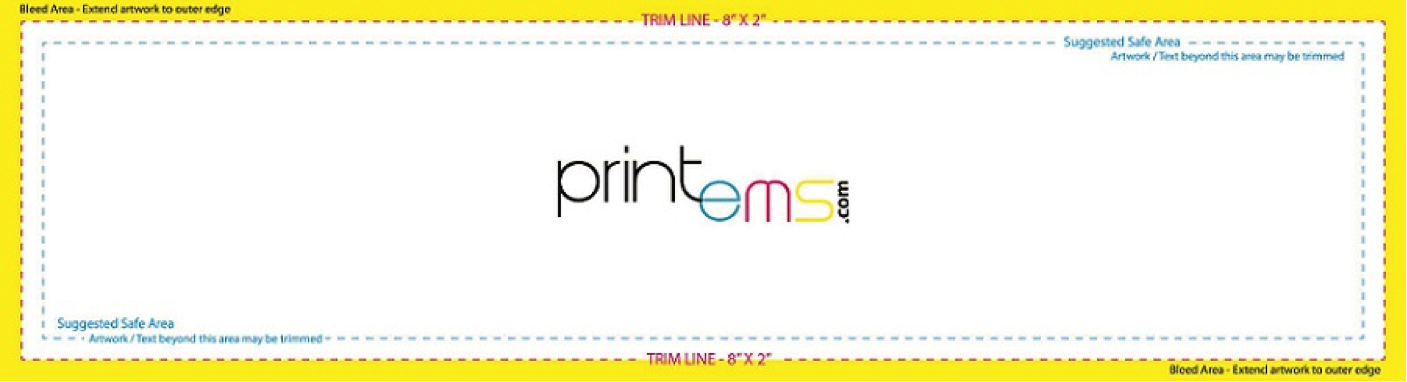
Use this template as a guideline for your design layout. Create a new layer in your design program that you will ultimately send us for printing, and keep our template as a separate layer in the background. The bookmark example above shows three outer lines: Bleed Area (yellow), Trim Line (pink) and Suggested Safe Area (blue). If your artwork includes a bleed, you will need to extend that image or background color to the outer edge, completely covering the yellow bleed area. If there is no bleed, your final file will be the same size as the trim line, and all your art and text will fit inside the suggested safe area, giving us at least 1/8” white margin around the edge.
When you are done designing your file, delete the template layer and save the print layer in the same file format as the template you are using, or export it as a high resolution PDF. At this point, none of our template marks should be visible in your print-ready file. We print at 300 dots per inch (dpi), and recommend that you upload files at that resolution. If your print file or any of your images are less than 300 dpi, they may appear blurry when printed. If you are sending us InDesign files (INDD) and need help packaging your files, please read our instructions.
If you have other file requirements or need Edison Press to set up a custom template, please contact us. If you ever need help setting up your files, our design department can assist, adding the finishing touches to your design.
Wide Format
Visibility
Your signage should be sized accurately for your desired viewing distance. Standard sign sizes include: 12” x 18”, 18” x 24”, 22” x 28”, 24” x 36”, 24” x 60”, 36” x 96” and 48” x 96”. For every ten feet of viewing distance your sign will need one inch of letter height. The sign should then be placed in a location where it can maximize exposure to your target audience. For example: If you are hanging a banner on the front of your building and your building is 25 feet from the street, your text will need to be at least two and a half inches tall to be effectively viewed from the street.
Readability
Your sign should be organized in a manner that easily conveys your intended message. Consider emphasizing key words and phrases with larger letters, bold typestyles and/or additional colors. Grouping graphic elements and text logically, separating them by layout and spacing can greatly enhance the speed and effectiveness of your signs communication. Adding a border to your sign increases reading speed by 26% and adding a second color increases retention by 78%.
Notice-ability
Your sign should incorporate some design elements that will help it stand out from the surrounding landscape. Color combinations and contrast, motion and/or uniqueness of the design can add to the notice-ability of your sign. The top five color contrast combinations for notice-ability are: black on yellow, white on black, yellow on black, black on white, and blue on white.
Legibility
Typestyle selection is crucial to the effectiveness of a sign. The proper font will convey your desired image without sacrificing the readability of your sign. Many script and specialty fonts can be difficult to read, limiting the ability to distinguish individual characters, especially over greater viewing distances.
Raster versus Vector?
For large format signage it is important to understand that there are 2 common file compositions raster (pixels) and vector (paths). A raster image is created in a program such as Adobe Photoshop and uses a grid of pixels to form shapes. When enlarged, raster artwork becomes blurry. Raster artwork can also be quite large—taking up 500mb and taxing your computer. On the other hand, vector images are composed of paths and created in programs such as Adobe Illustrator. This vector art scales with these paths remaining crisp and clear plus file size is generally small.
Whether you have questions on creating large format graphics or choosing the right material, the Large Format team at Edison Press is here to answer your questions. Contact Edison Press or your Account Executive at 207.324.5410 today.
Ancillary Services Used For Mail Pieces
First-Class
“Forwarding Service Requested” or no endorsement Forwarded at no charge up to 12 months. Months 13-18 mailpiece returned with new address; no charge. After month 18, or if undeliverable, mailpiece is returned with reason for non-delivery; no charge.
“Address Service Requested”
Forwarded at no charge up to 12 months; a separate notice of new address is provided and a correction fee charged. Months 13-18 the mailpiece is returned with new address; no charge. After month 18, or if undeliverable, mailpiece is returned with reason for non-delivery; no charge.
“Return Service Requested”
Mailpiece returned with new address or reason for non-delivery; no charge.
“Change Service Requested”
Mailpiece disposed of by USPS. Separate notice of new address or reason for non-delivery provided; address correction fee charged.
Standard Mail
No Endorsement
Mailpiece disposed of by USPS.
“Forwarding Service Requested”
Forwarded at no charge up to 12 months. Months 13-18 the mailpiece is returned with new address; Standard mail weighted fee charged. After month 18, or if undeliverable, mailpiece is returned with reason for non-delivery; Standard Mail weighted fee charged. No address correction fee charged.
“Address Service Requested”
Forwarded at no charge up to 12 months; separate notice of new address is provided and correction fee charged. Months 13-18 the mailpiece is returned with new address; Standard mail weighted fee charged (no correction fee). After month 18, or if undeliverable, mailpiece is returned with reason for non-delivery; Standard Mail weighted fee charged (no correction fee charged).
“Return Service Requested”
Mailpiece returned with new address or reason for non-delivery; Standard Mail single-piece rate charged (no correction fee charged).
“Change Service Requested”
Mailpiece disposed of by USPS. Separate notice of new address or reason for non-delivery provided; address correction fee charged.